CC1- Adding Ceiling Markers to a Map
Back to Blog(s)
Ceiling Marker Introduction
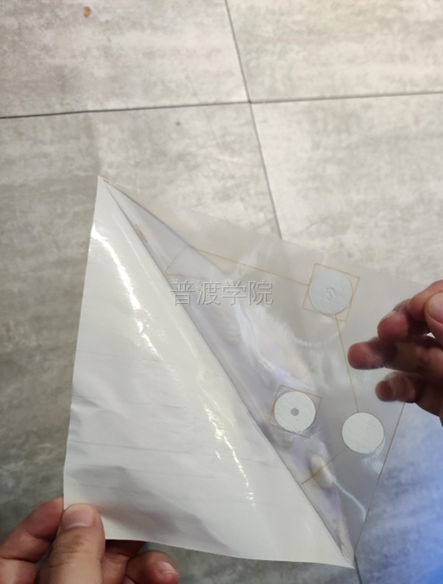
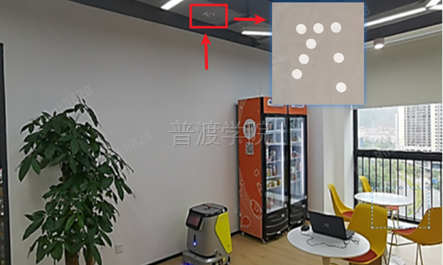
Ceiling markers act as guideposts, allowing the robot to identify and locate itself using the top-view camera, thereby determining its position within the space.
How to Use Ceiling Markers
- Communicate Requirements: determine the robot’s startup location and travel route.
- Peel Off the Backing: remove the backing of the marker.
- Affix the Marker: lay it flat and affix it to the ceiling above the robot’s startup location.
Additional Guidelines for Ceiling Markers
- Place markers where they can be easily recognized by the robot.
- Increase marker density in dynamic environments (stations, lobbies, event spaces with high foot traffic).
- Add markers in areas prone to changes, like halls or classrooms with movable furniture.
By following these guidelines, you can enhance the robot’s mapping and navigation capabilities effectively.
CC1 - Adding Ceiling Markers To The Map Walkthrough
Contact Customer Support for Further Assistance
Leave a comment below...